
Mode Help
Integrations
OverviewExcel Workbook Integration
RequirementsCreating an Excel Workbook DatasetEditing your Excel Workbook DatasetDescribing the fields in your DatasetAdding calculated fields to your Excel Workbook DatasetViewing source informationUpdating your Dataset's name & descriptionScheduling an Excel Workbook DatasetMoving an Excel Workbook Dataset to a CollectionViewing an Excel Workbook DatasetUsing your Excel Workbook Dataset in a ReportRefreshing data in a Dataset-based ReportExcel Workbook Dataset permissionsFAQs
Excel Workbook Integration
Overview
Mode’s Excel Workbook integration allows users to connect to their individual Microsoft accounts to upload Excel data directly into Mode Datasets for reporting and visual exploration.
Requirements
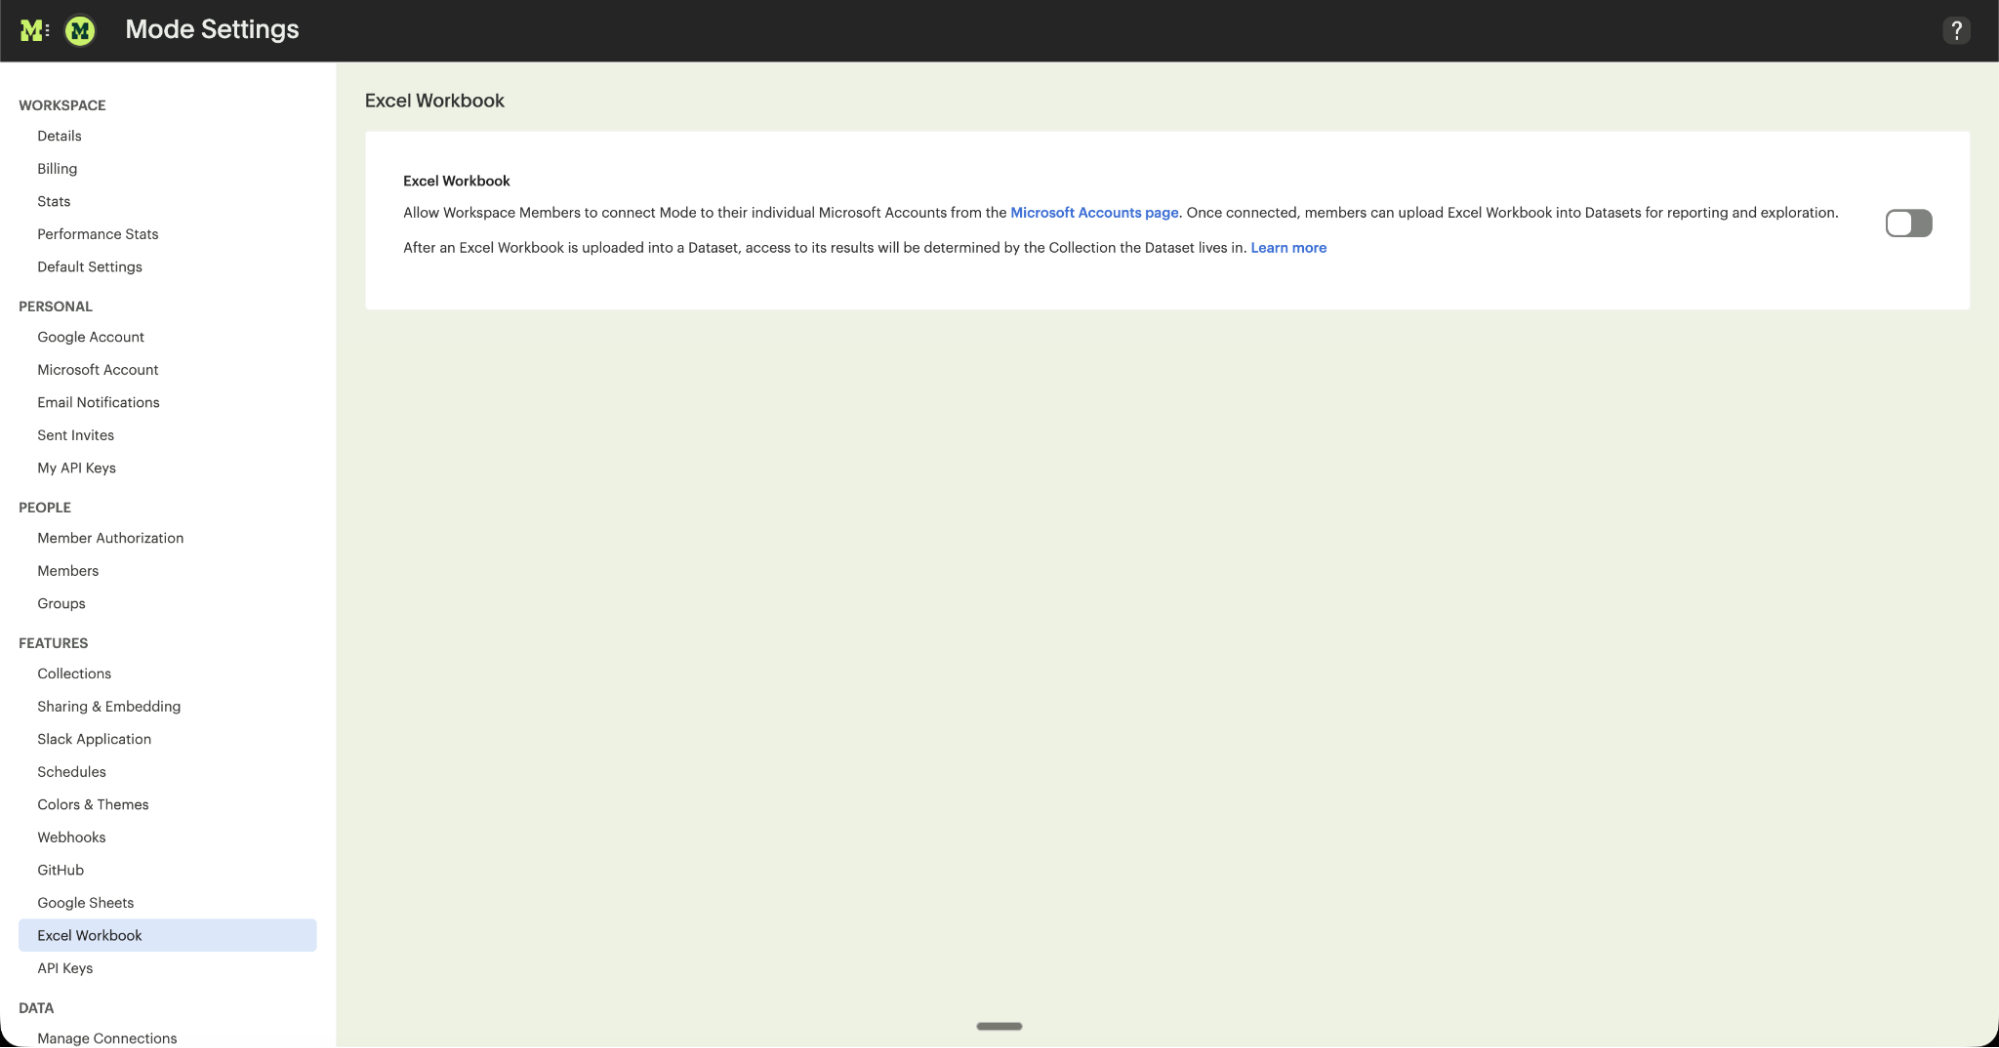
Before you get started, you'll need to make sure the Excel Workbook Integration is enabled for your Workspace. Admins can enable the feature from the Excel Workbook feature page in Workspace Settings.
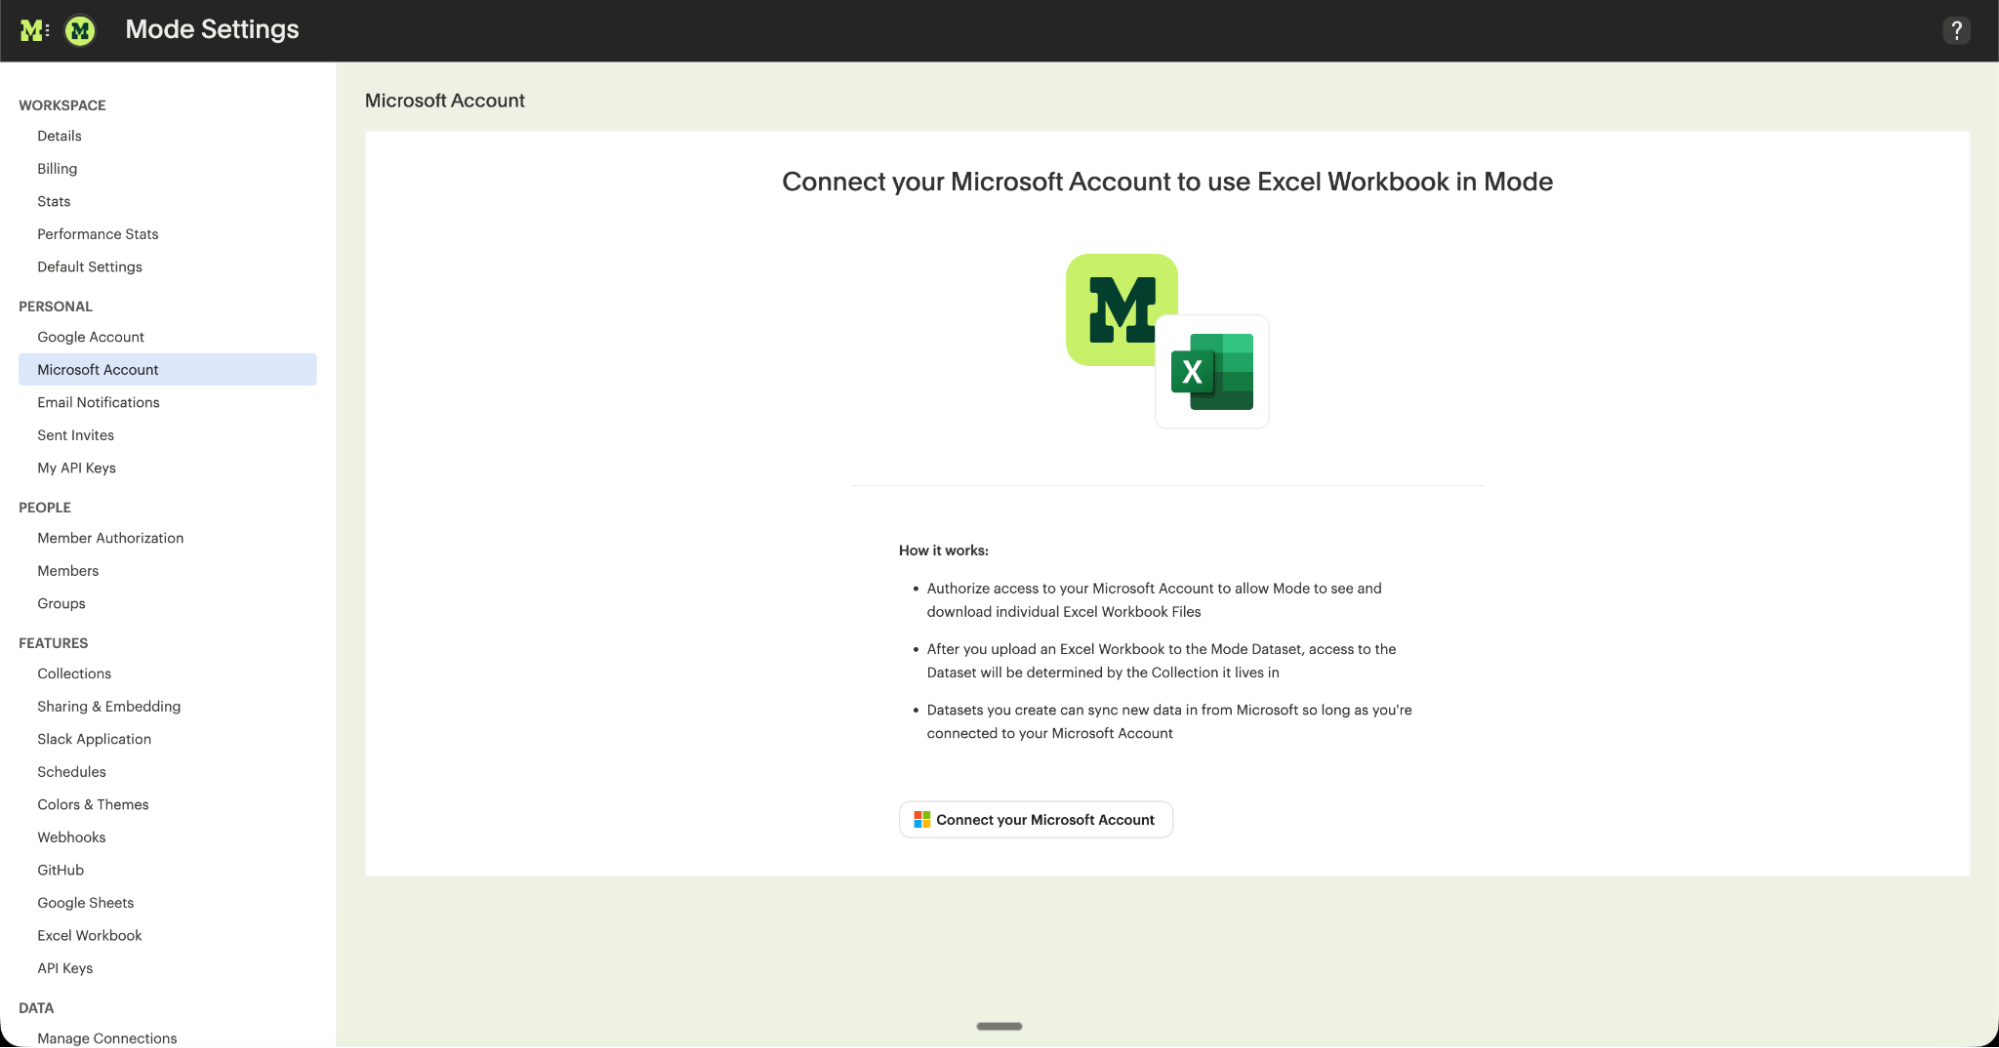
Once the feature is enabled, Workspace Members can connect Mode to their individual Microsoft accounts from the Microsoft Account page in Workspace Settings.
Tips when preparing your Excel data for use in Mode
- Avoid using merged cells, and ensure each cell only contains data (graphs and images won't be uploaded).
- Add headers to the first row, as column names will be auto-generated from the first row.
- Consider using a dedicated worksheet tab to prep and narrow down the scope of your data. When you upload an Excel Workbook into Mode, the entire range is used (including any hidden and filtered cells).
- Supported Locations: Mode currently supports Excel files stored in OneDrive and SharePoint Online.
Creating an Excel Workbook Dataset
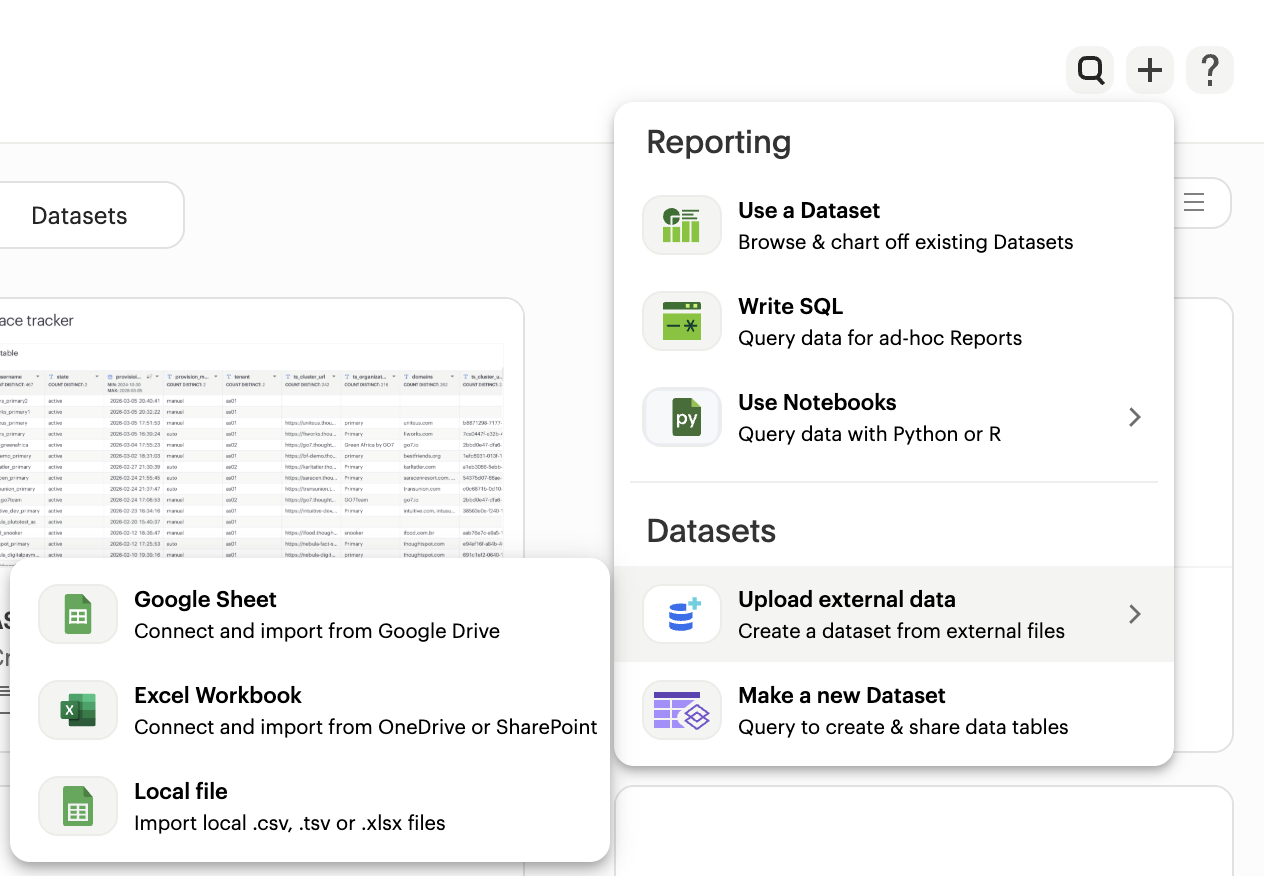
To create a new Excel Workbook Dataset, select the Create button in the top right corner of your Mode home screen and choose the Upload an Excel Workbook option in the Upload External Data section.
 Alternatively, navigate to My Work and click the shortcut tile to Upload an Excel Workbook.
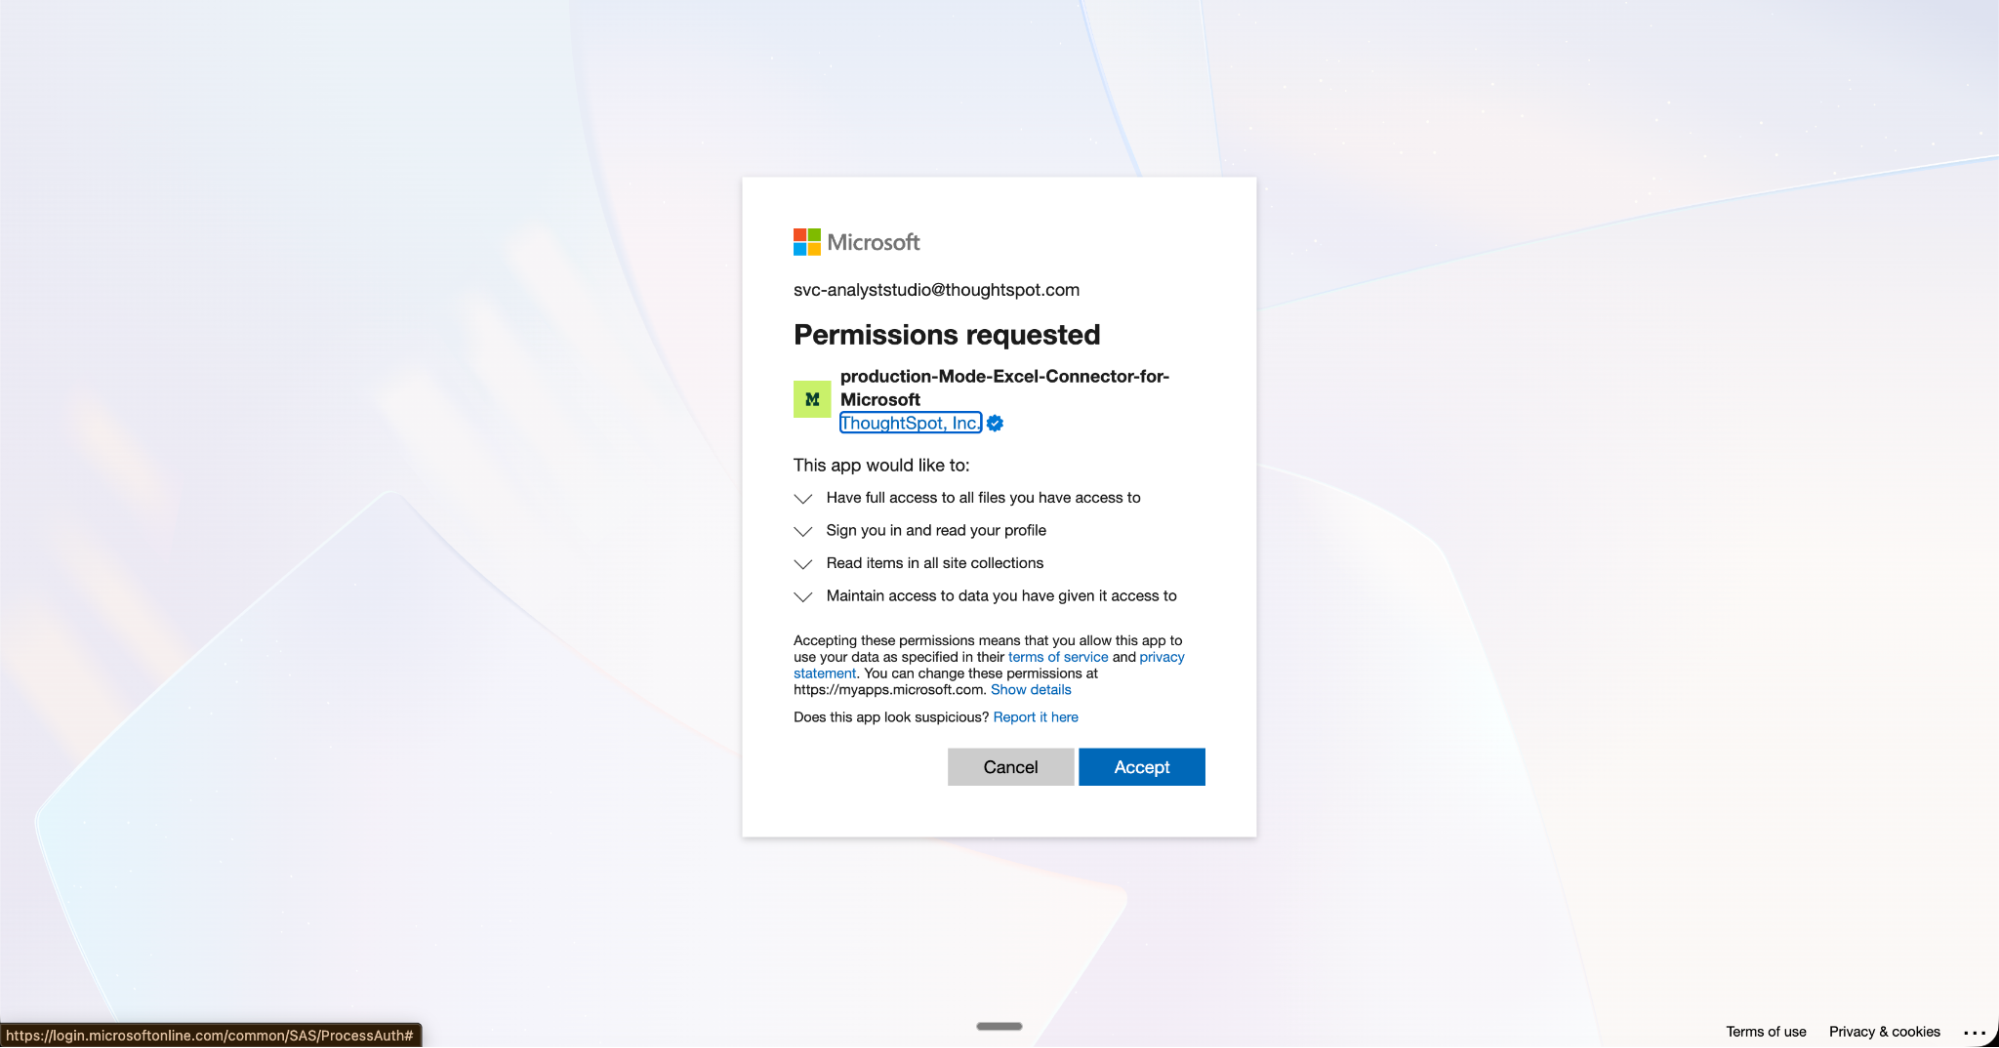
This will open up the Excel Workbook upload modal, where you can browse for and select individual files. If you haven't connected to your account before, you'll first be prompted to do so.
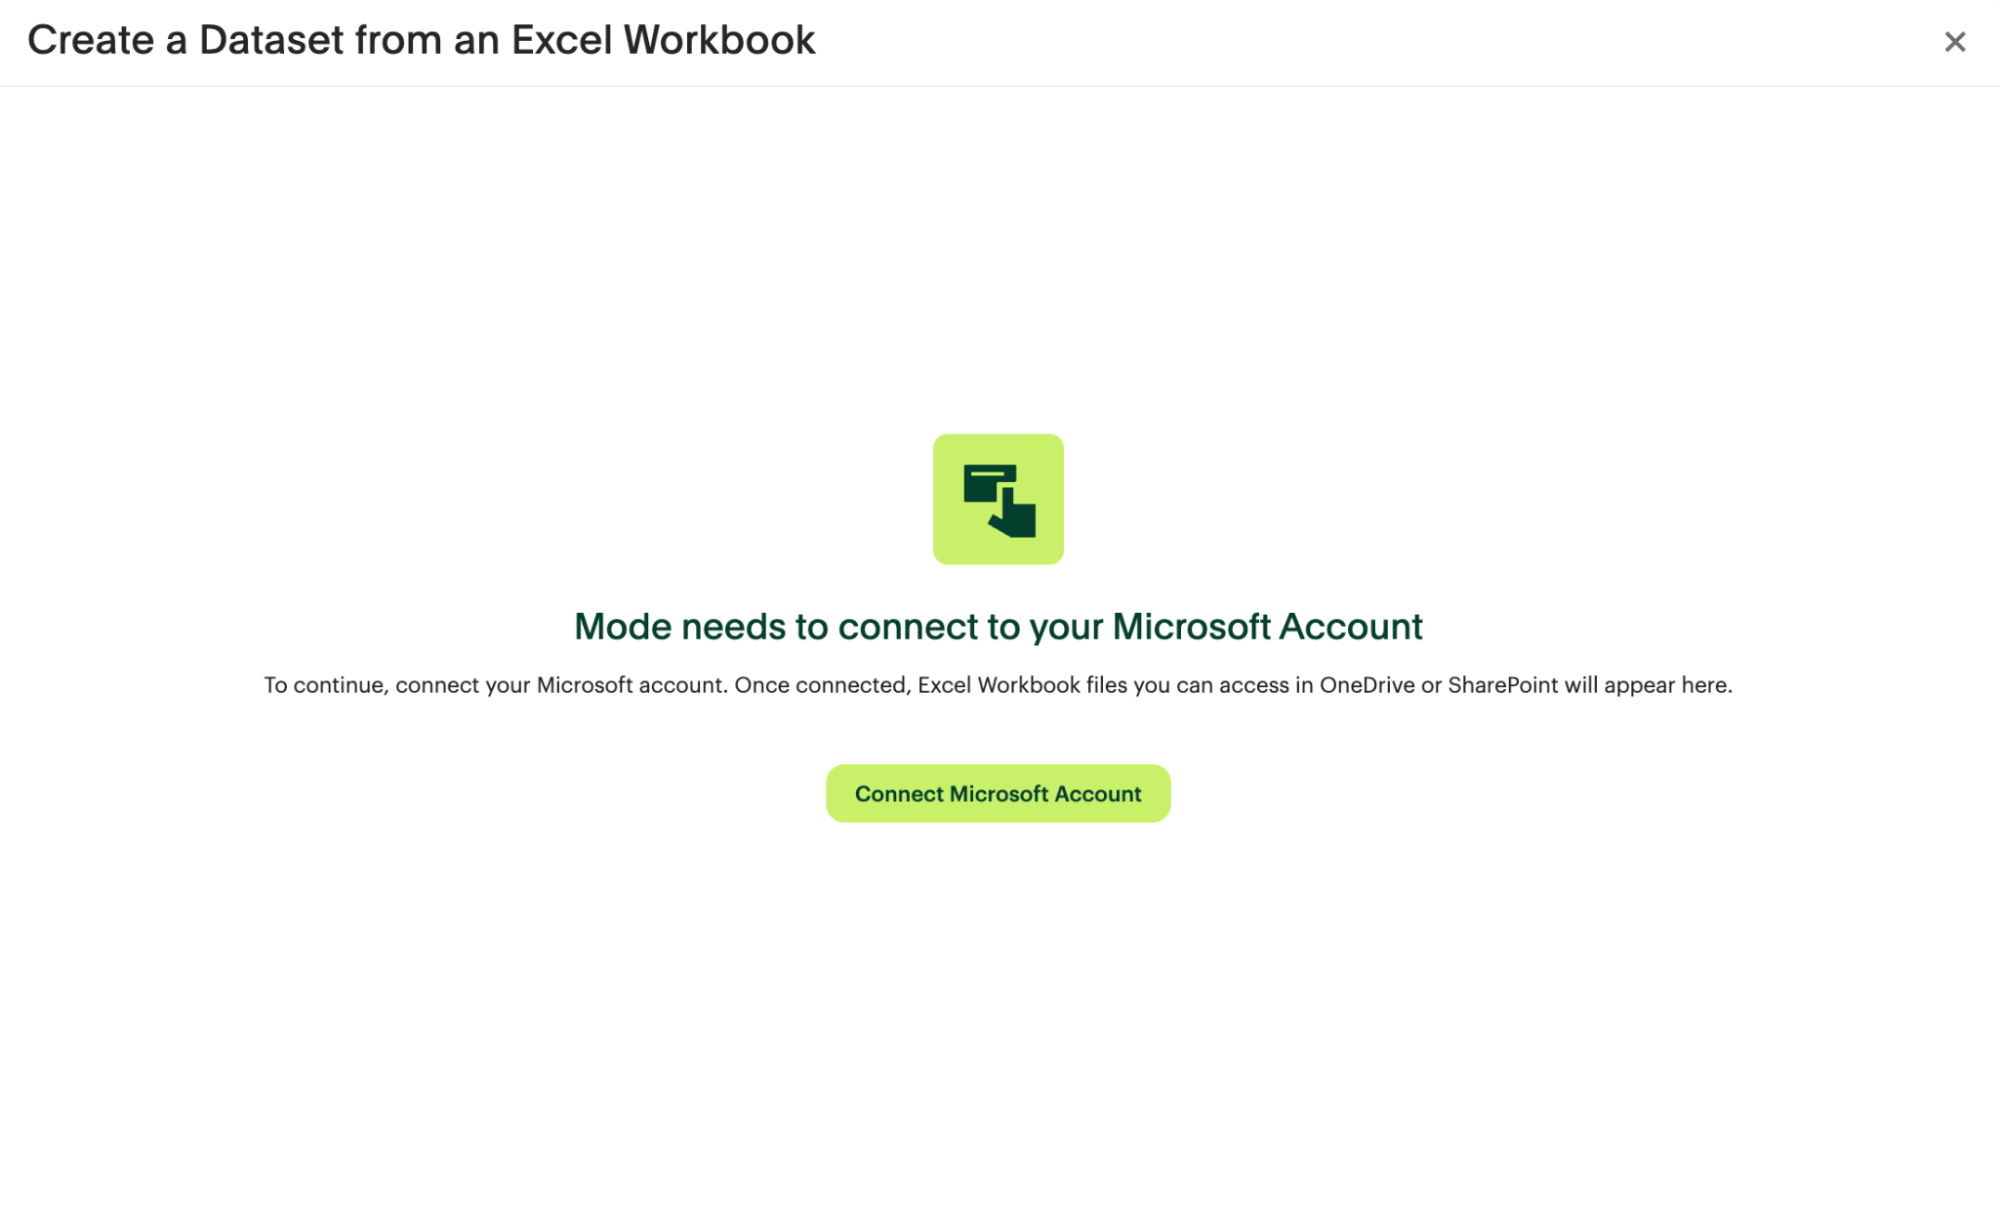
Click on the Set up account button to access the Microsoft Account page in Workspace Settings. From here, you can give Mode access to your OneDrive and SharePoint accounts.
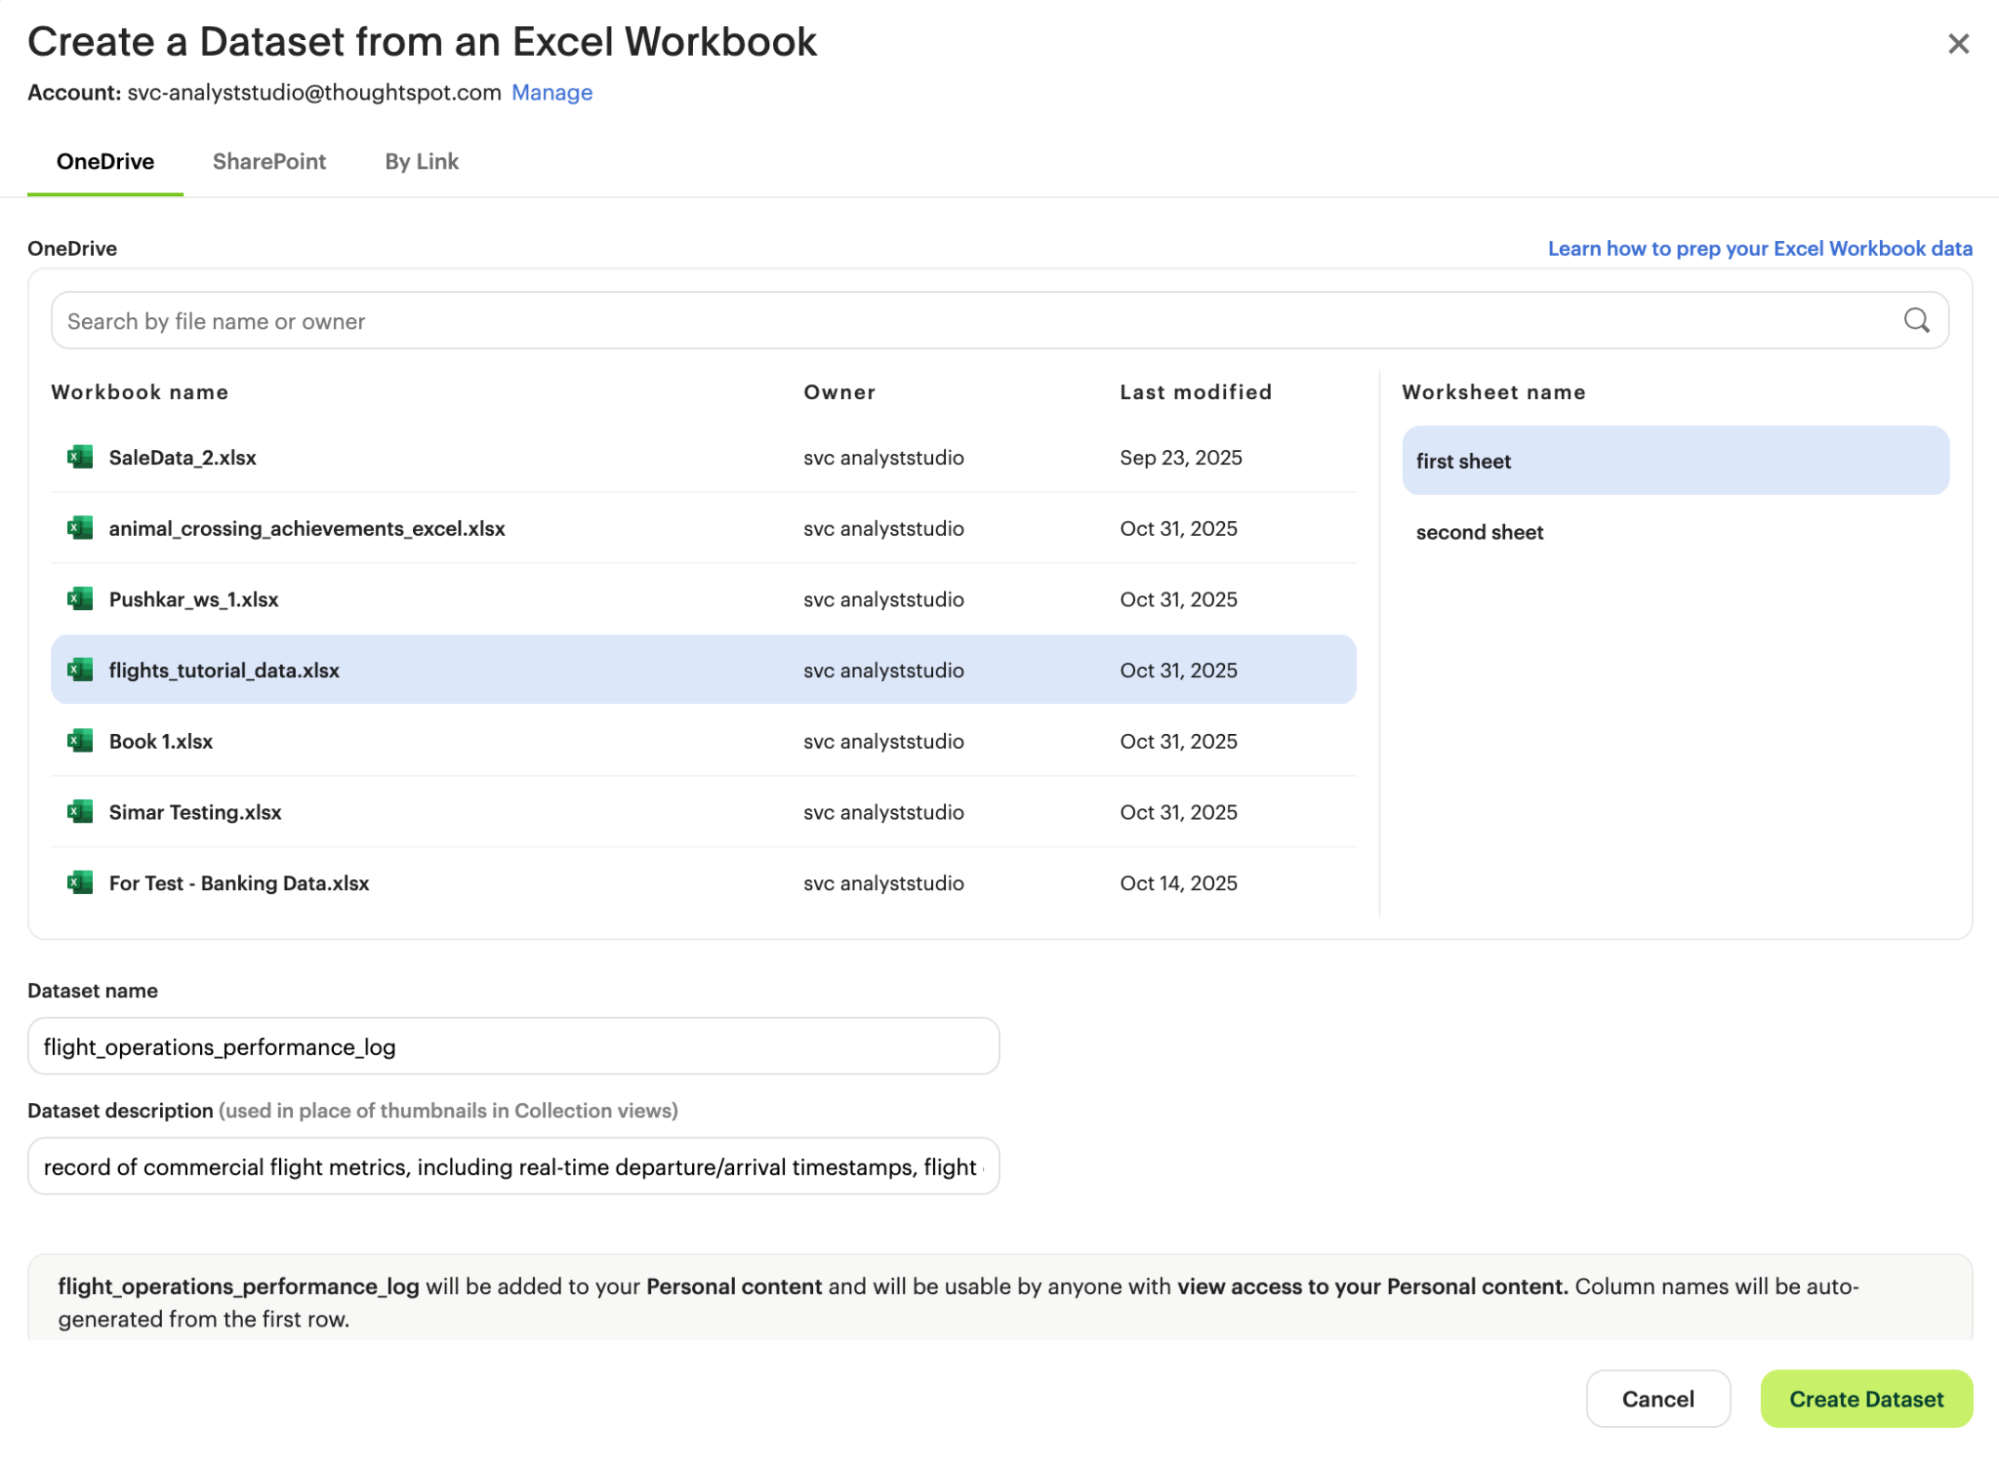
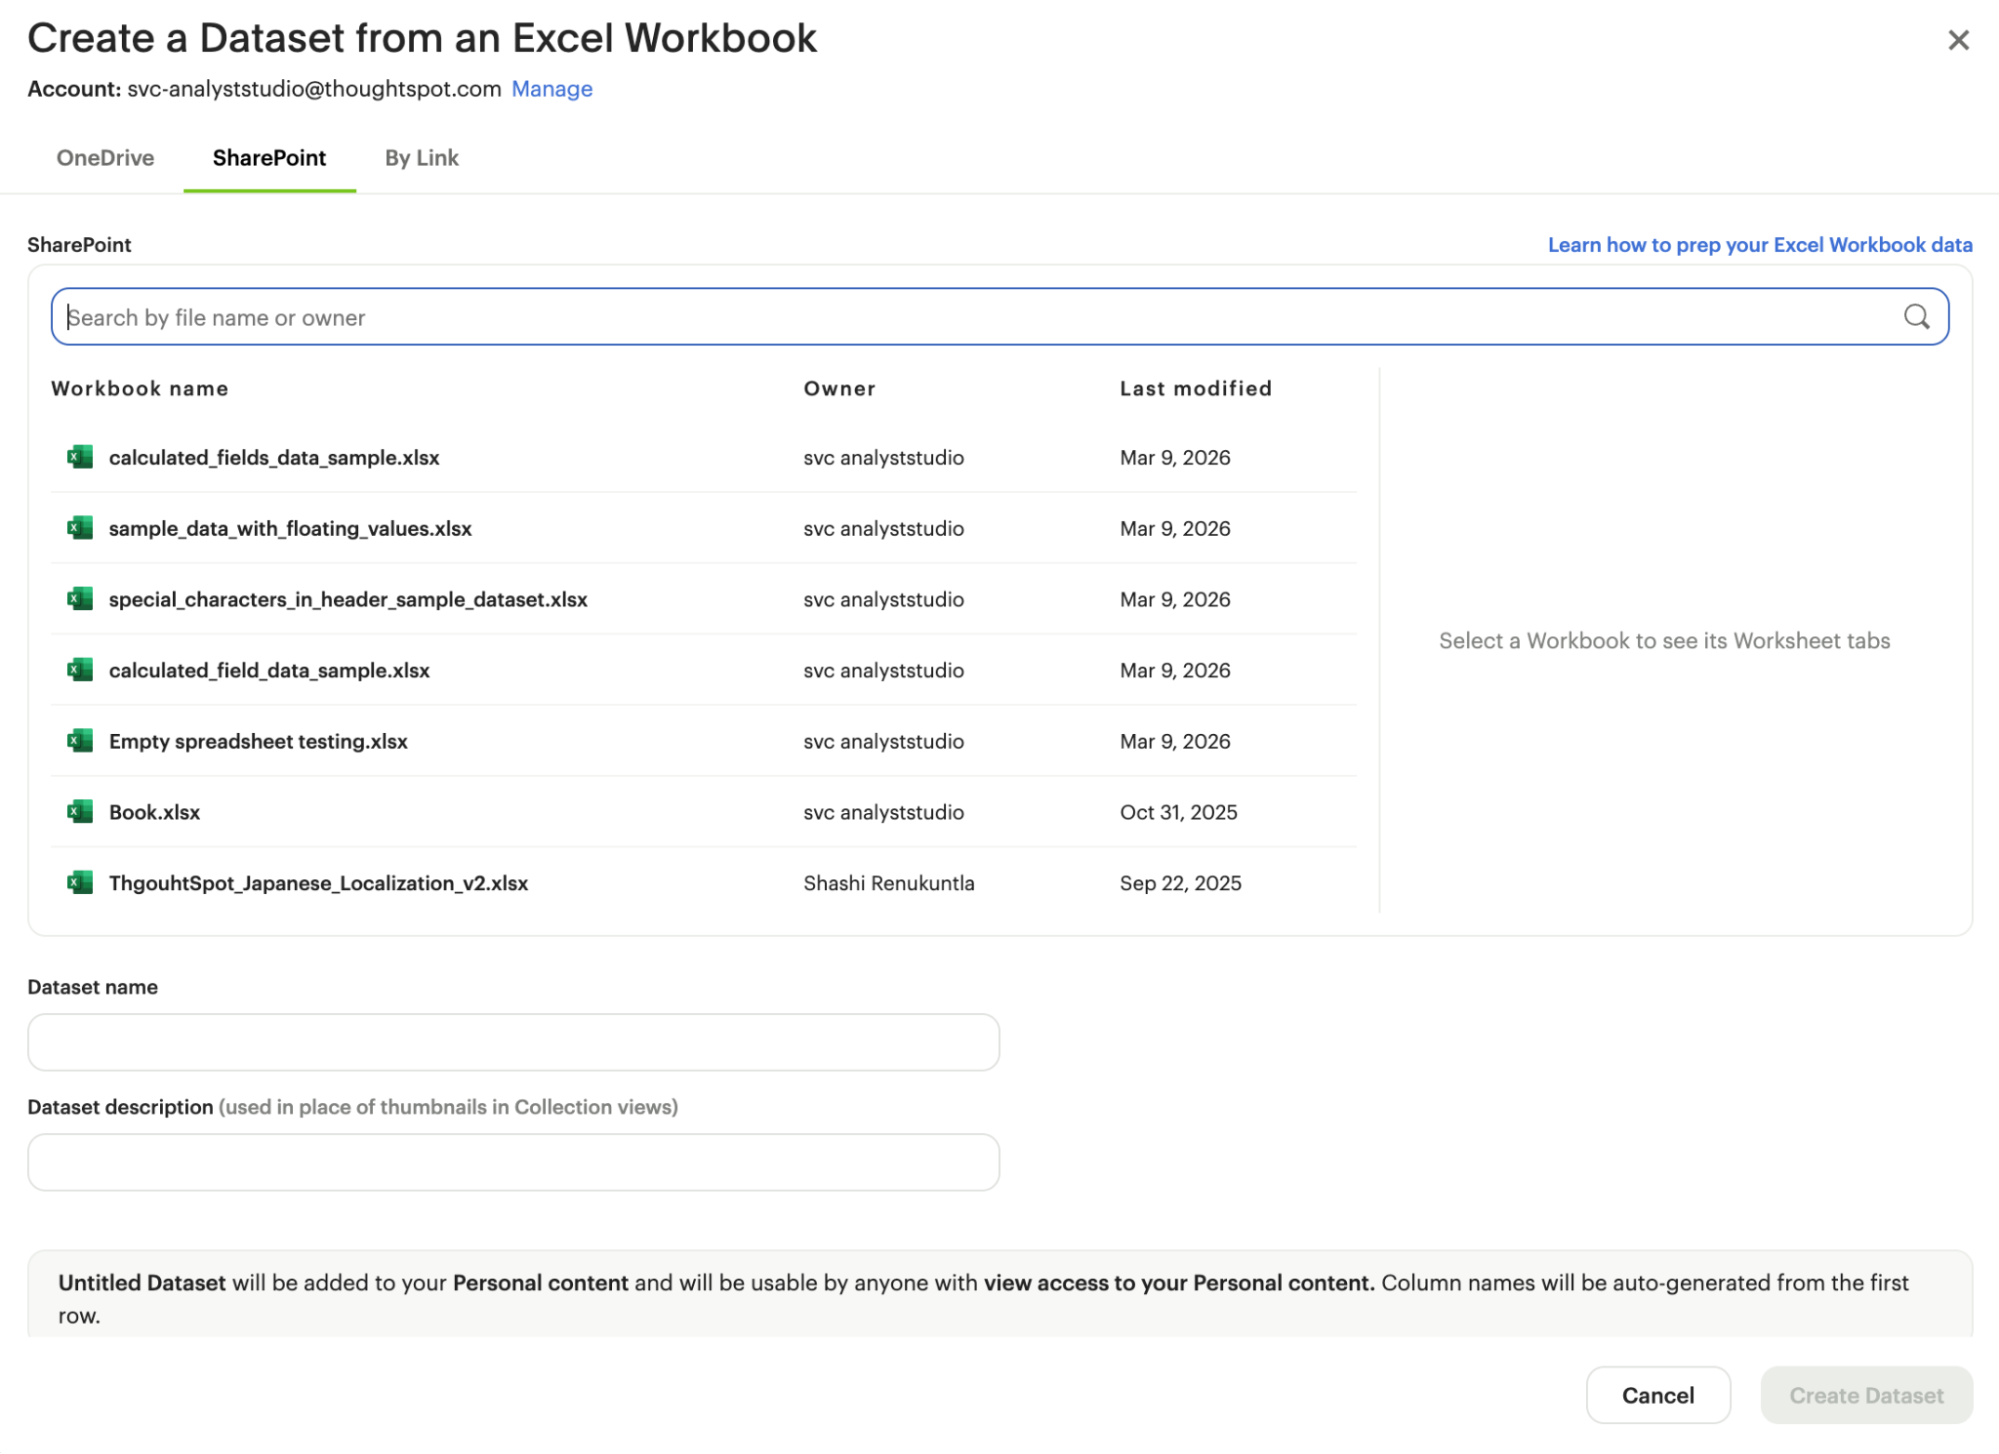
Once connected, Excel files you have access to in both OneDrive and SharePoint will appear in the upload modal. From here, you can browse and search for the Workbook you'd like to use, or paste in its URL. After you've selected a Workbook and Worksheet tab to upload, you can also give your Dataset a name and description. When you're finished, click Create Dataset.
OneDrive View
SharePoint View
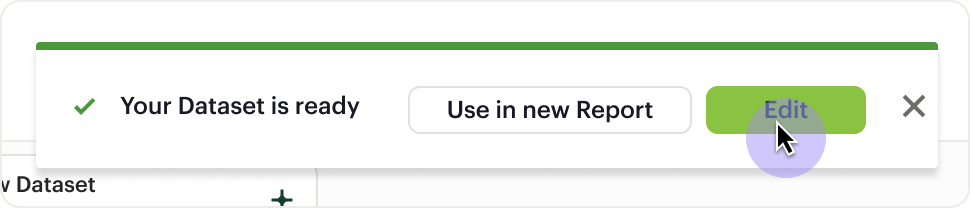
After your Workbook data has been successfully uploaded and your Dataset has been created, you'll receive a notification that it's ready for use. From here, you can choose to edit the Dataset directly or start visually analyzing its data in a new Report.
Editing your Excel Workbook Dataset
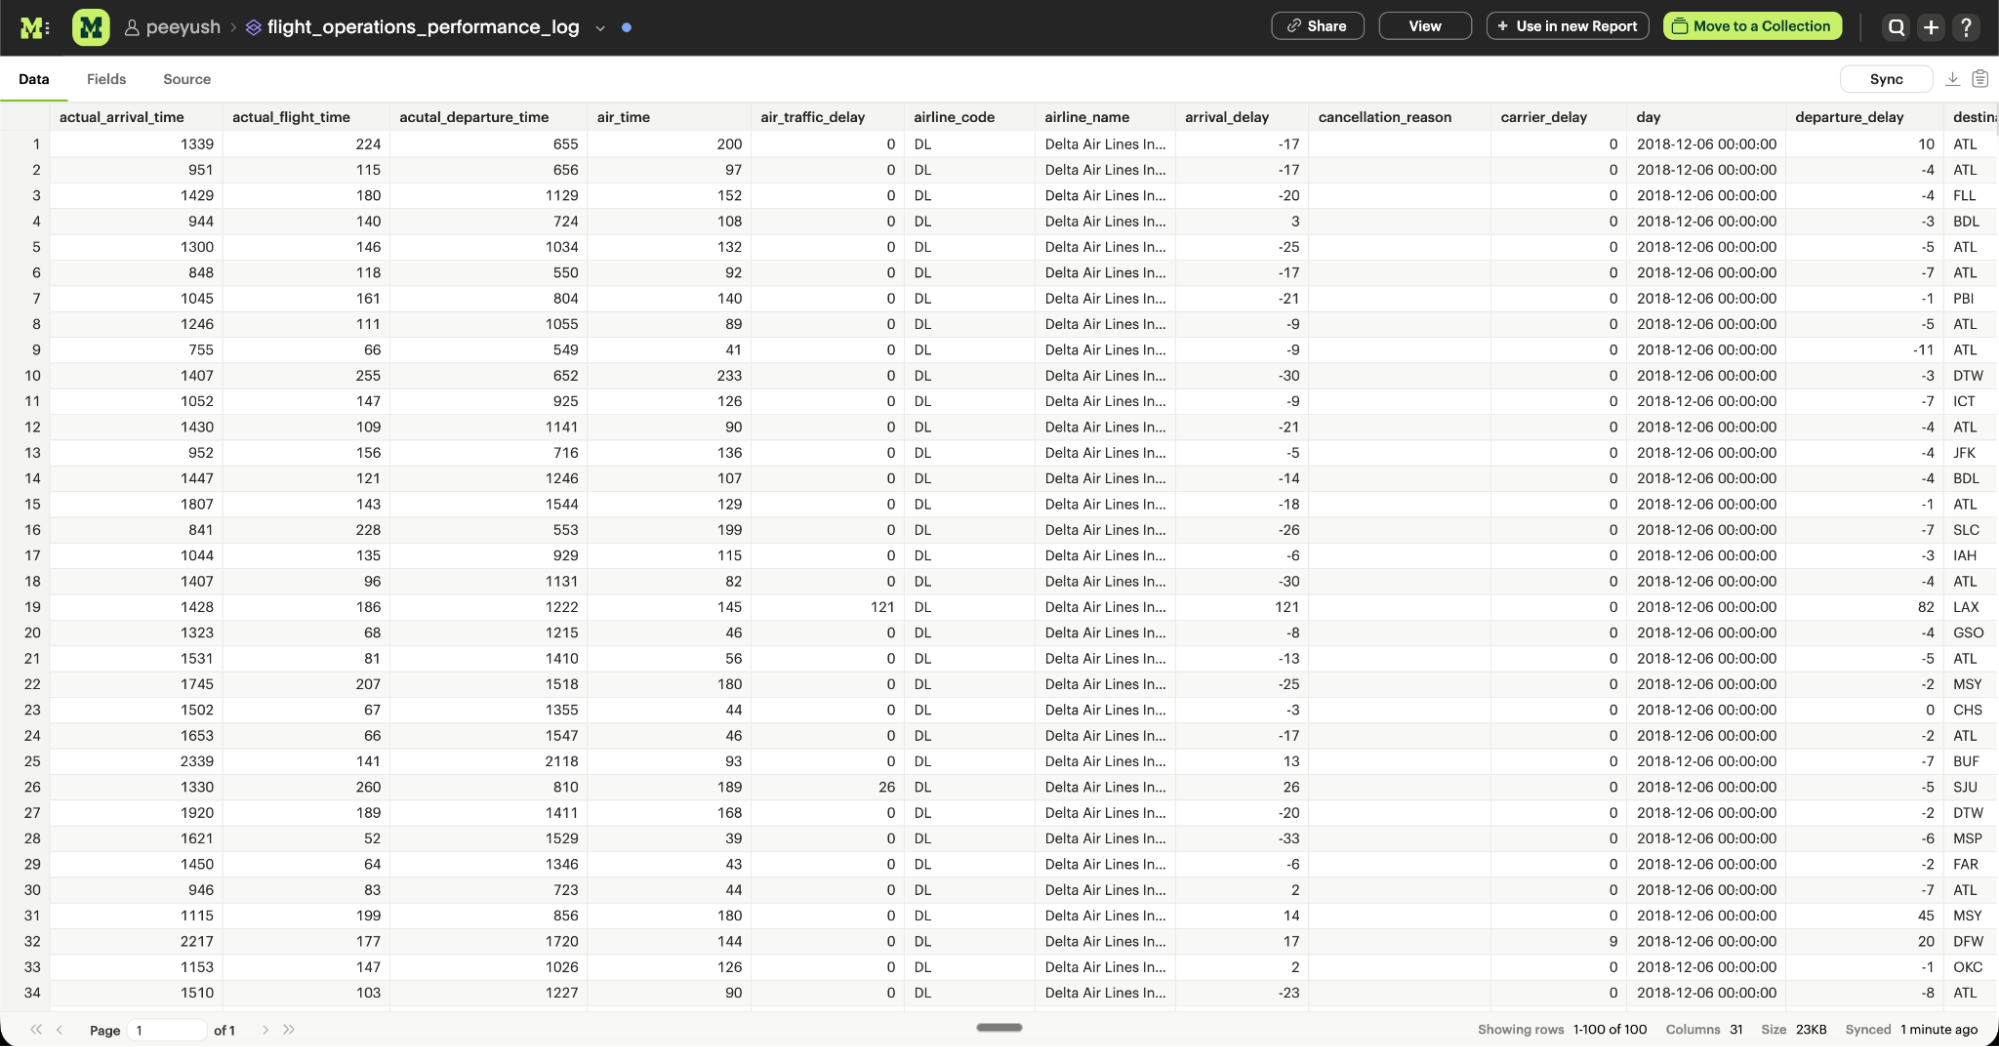
Once your Excel data is uploaded, you'll be able to see the results in the Data View. This shows you the columns that were generated from the Workbook.
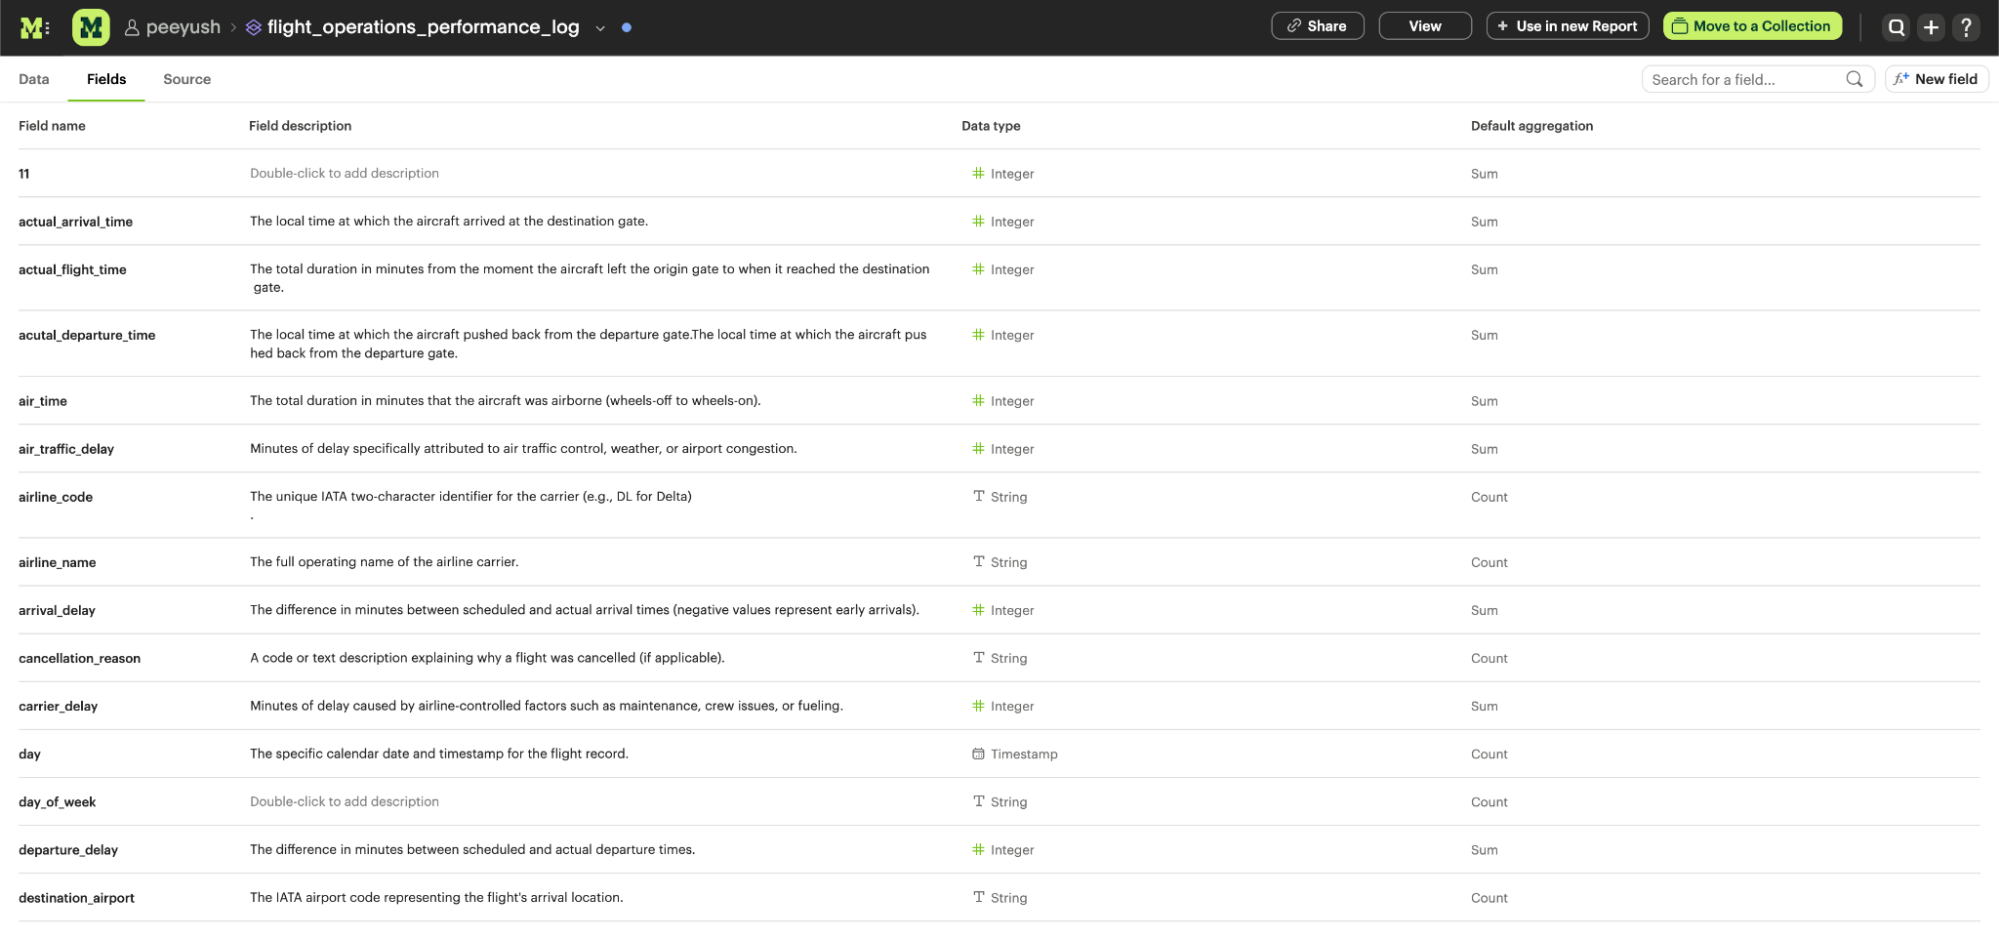
You can also see a list of all of the available fields in the Dataset from the Fields tab.
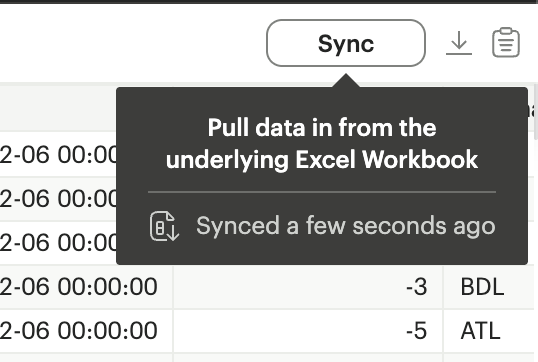
To pull new data in from the underlying Excel Workbook, click the sync button.
Describing the fields in your Dataset
We recommend adding field descriptions to all Workspace Datasets to build shared understanding around business and logic definition.
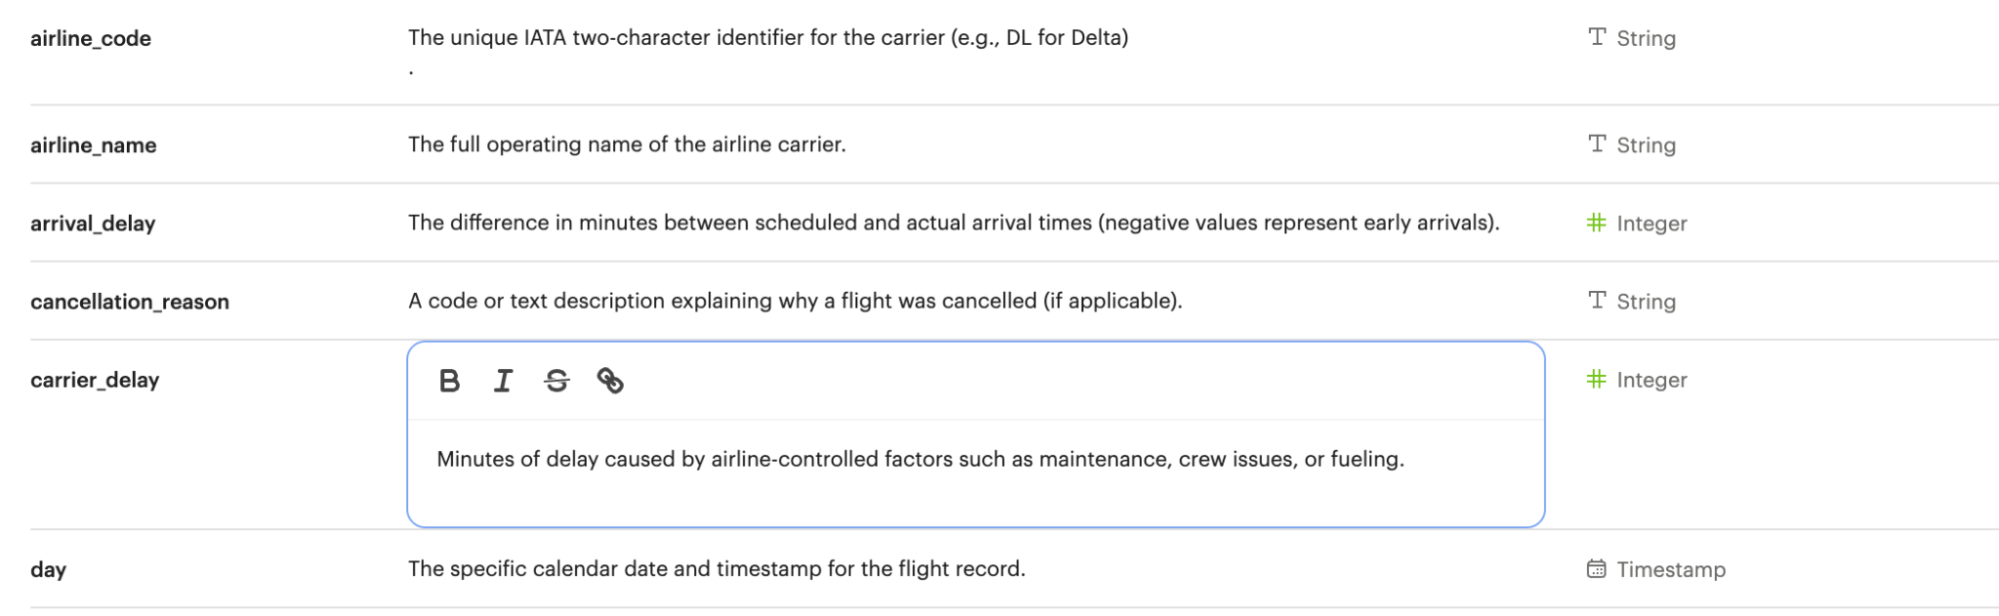
To add a new field description, edit any Dataset and navigate to its Fields tab. From here, double-click on the row you'd like to edit. Descriptions support up to 350 characters, and text formatting such as bolding, italicizing, emojis, line breaks, and hyperlinks.
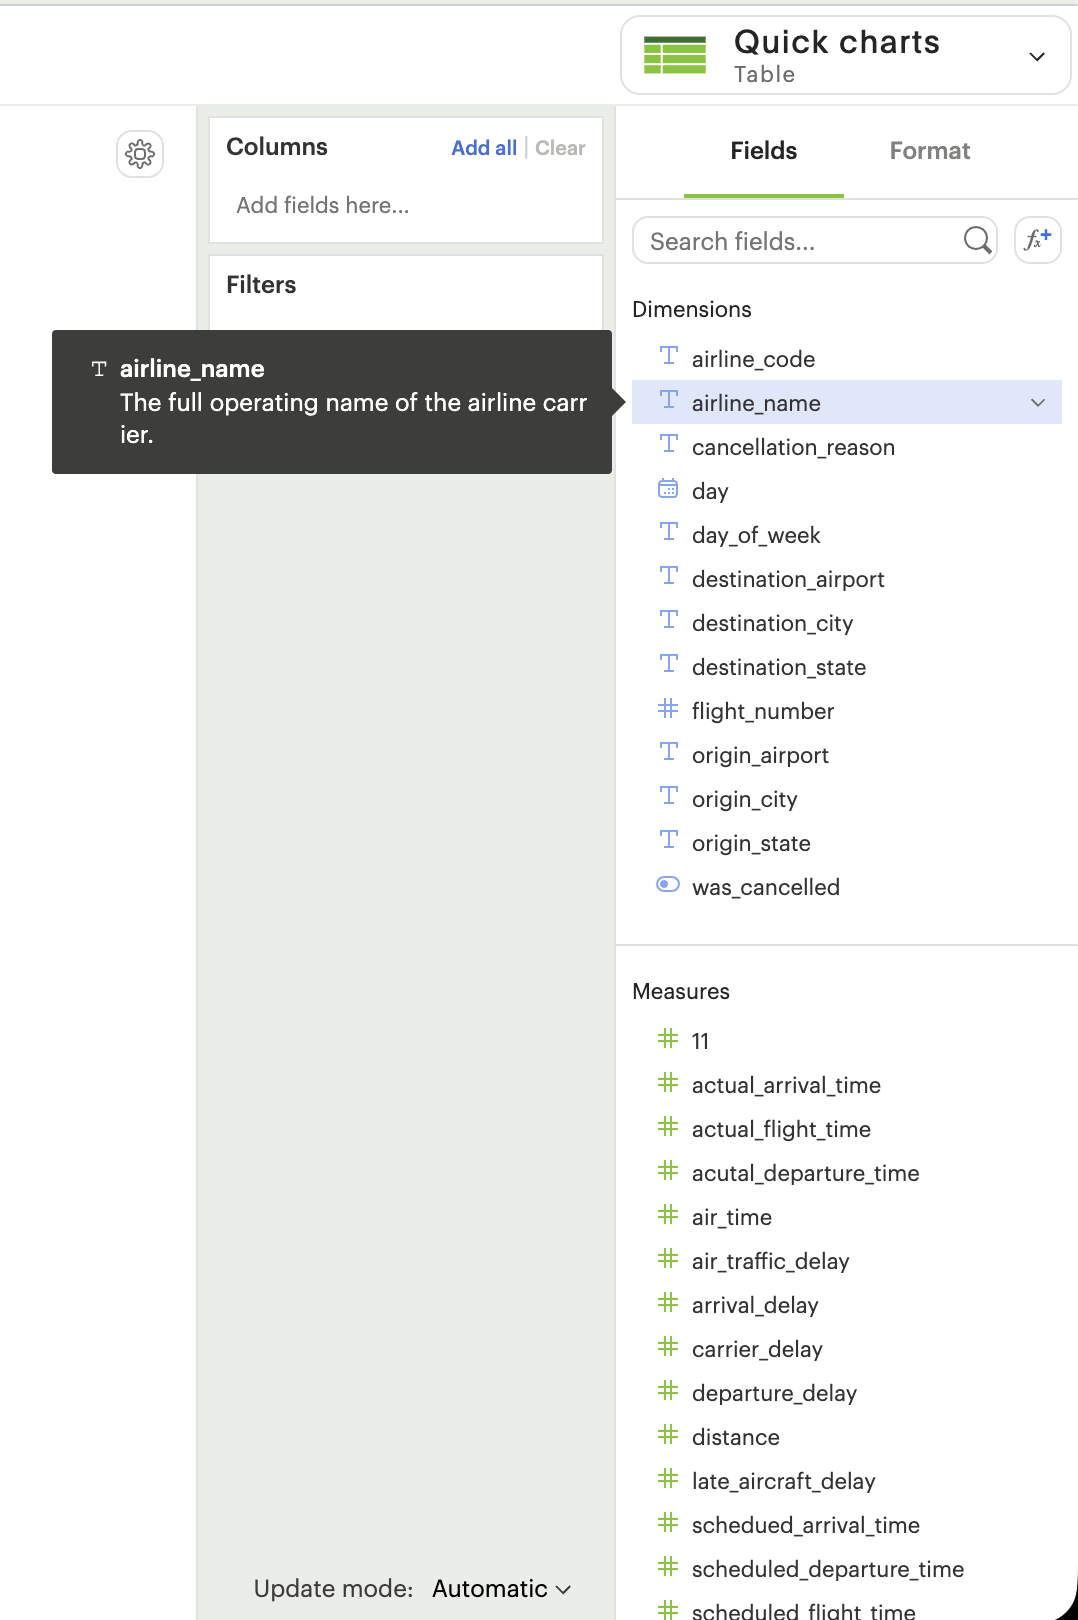
Once added, field descriptions will appear in the Fields tab of a Dataset and when hovering over the fields list in the chart builder.
| Use case | Sample field | Sample description |
|---|---|---|
| Shared understanding | Engagement rate | Calculates the % of users who are engaged, where engaged is defined as any user who has logged in and taken >1 action in the past 14 days. |
| Expectation setting | Order status | Segment orders by canceled, completed, or returned. |
| Disambiguation | Order amount | Total units per order. ⭐️ Tip: if you're looking for Total price, use Order price. |
Adding calculated fields to your Excel Workbook Dataset
You can add new calculated fields to the Dataset from the Fields tab. Doing so will add the calculated field to the list of available fields, and also make it available in any reports created from the Dataset.
Viewing source information
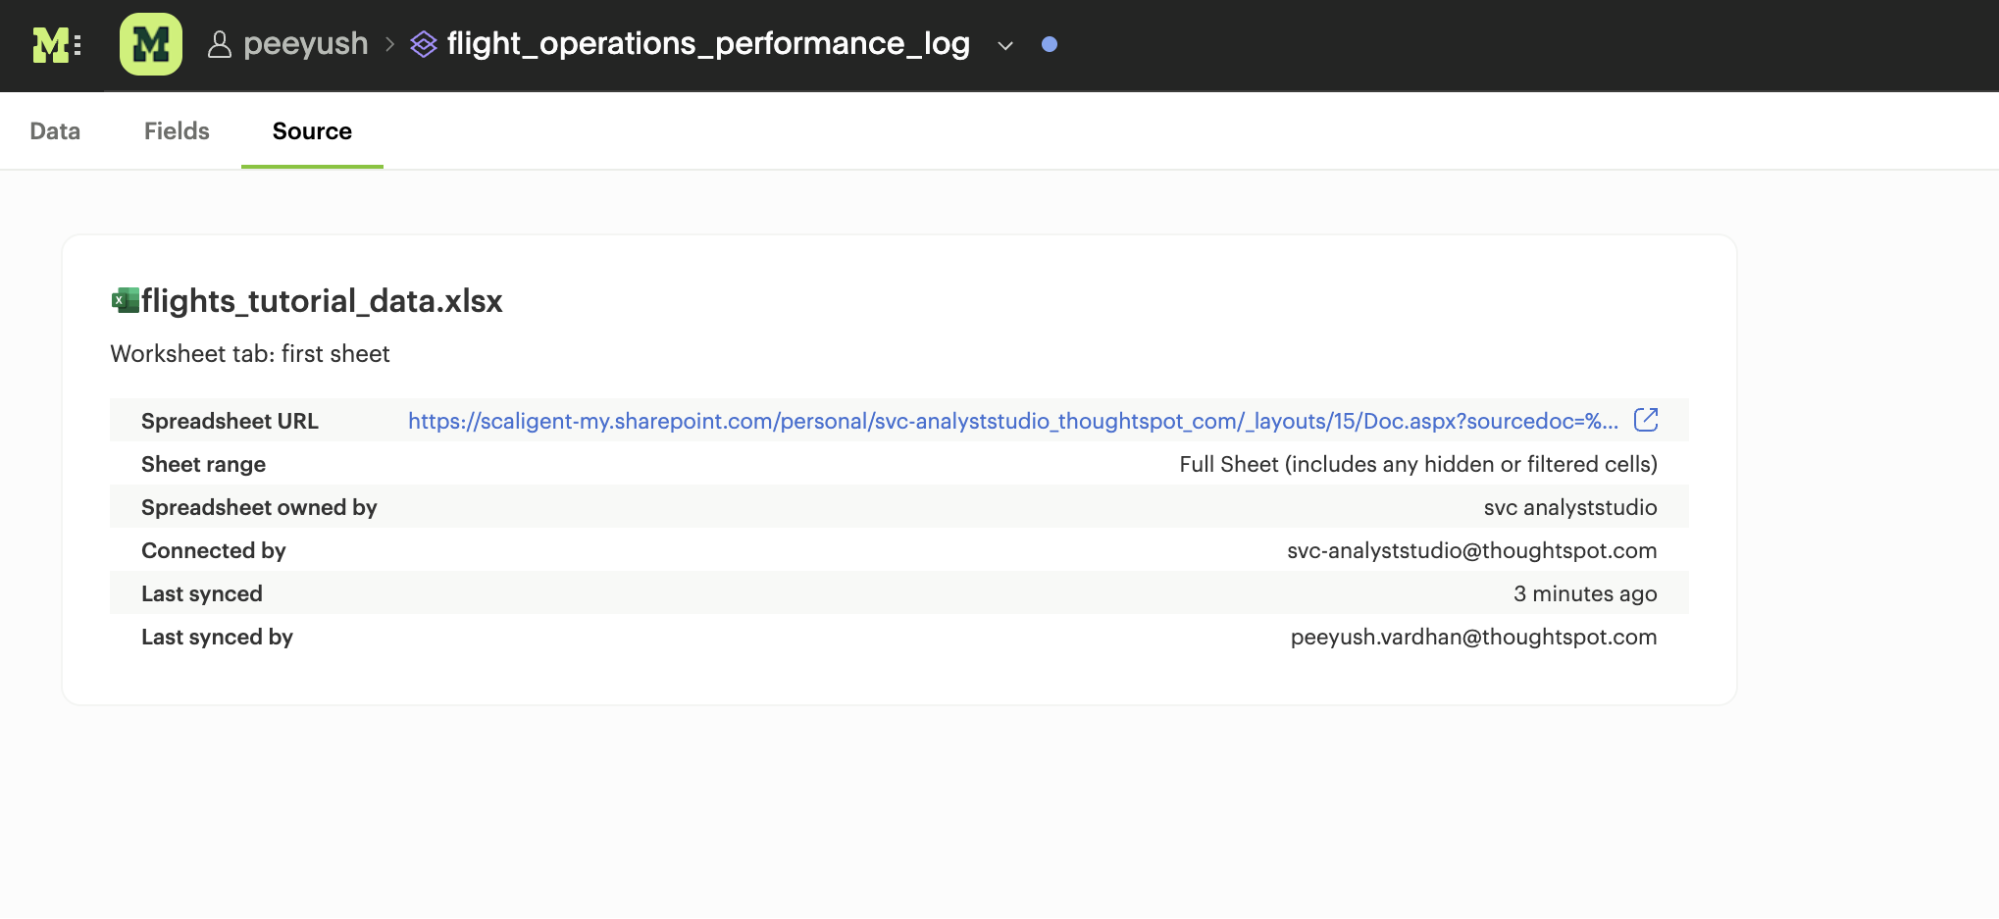
Information about the underlying Excel Workbook (filename and location) used to generate the Dataset can be accessed from the Source tab.
Updating your Dataset's name & description
You can change the name and description for your Dataset at any point. Select the caret next to the Dataset name in the header and select Rename.

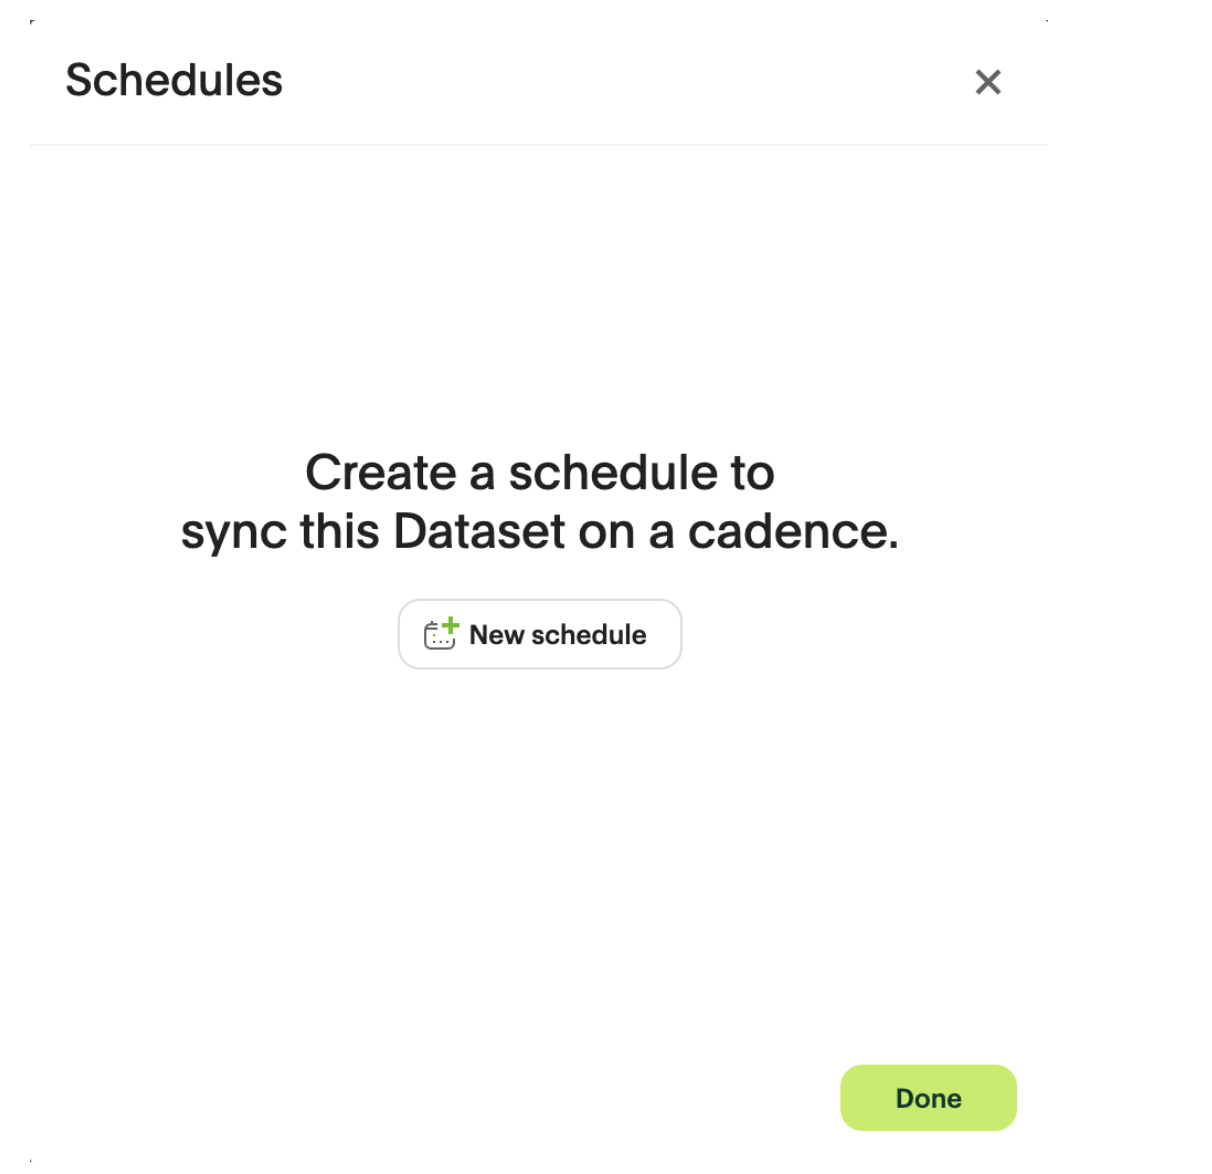
Scheduling an Excel Workbook Dataset
You can set a schedule for your Dataset to sync in data from the underlying Excel Workbook on a cadence. After a sync finishes, all associated Reports will pull in the fresh data.
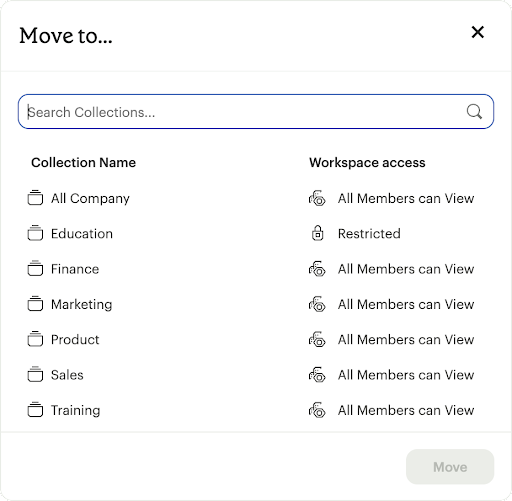
Moving an Excel Workbook Dataset to a Collection
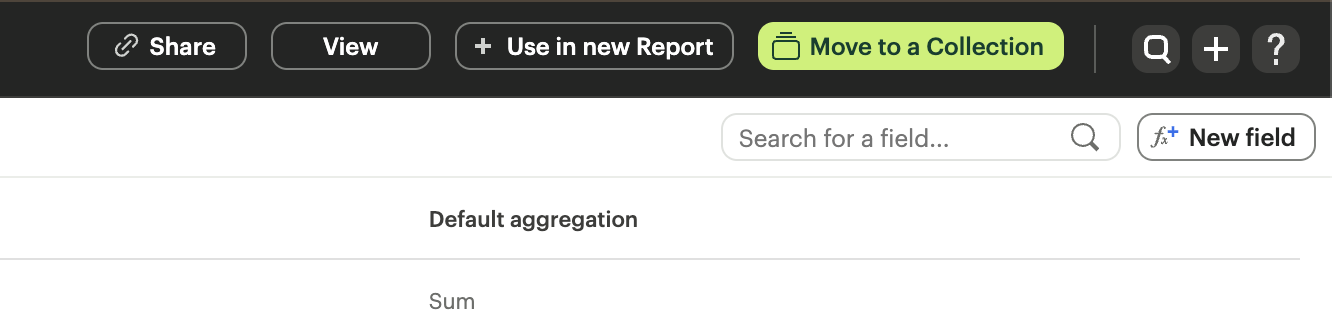
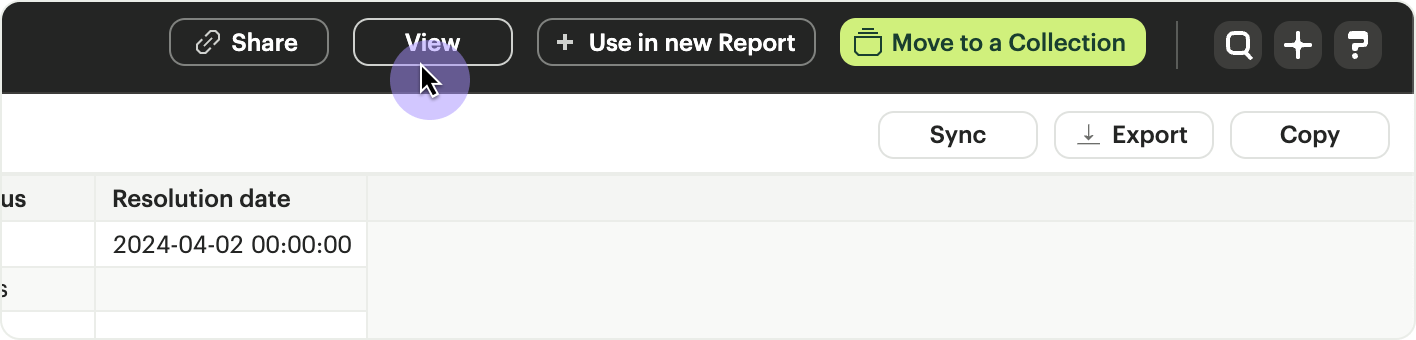
To make the Dataset available to your team, select the Move to a Collection button in the top right corner of the Datasets editor.
Viewing an Excel Workbook Dataset
To view a Dataset you've just created, select the View button in the top right corner of the Datasets editor. From here you can view the Data, Fields, and Source tabs.
Using your Excel Workbook Dataset in a Report
After your Workbook data has been successfully uploaded, click the Use in New Report button located in the header. From within an existing Report, select the + Add Data button to search for your Excel Dataset.
Refreshing data in a Dataset-based Report
New Excel data can be synced via a schedule or manually. When you run your Report, Mode will check for a newer sync available and load it in.
Excel Workbook Dataset permissions
Once you upload an Excel Workbook into a Mode Dataset, access to the Dataset is determined solely by the Collection it lives in.
FAQs
Q: Can I access my Excel Datasets in the SQL editor?
No. Currently, Reusable Datasets can only be used for visual analysis via Quick Charts and the Visual Explorer.
Q: Can I access my Excel Datasets in the Notebook?
Yes. You can reference Excel Datasets added to your Report as dataframes in the Notebook by name, position, or token.
Q: What happens if I disconnect my Microsoft account?
Existing Datasets will continue to use the last successful sync but won't be able to pull new data until you reconnect.
Q: How big can my Excel Datasets be?
Excel Workbook Datasets adhere to your Workspace's data plan. Microsoft also limits Excel files to approximately 250MB for cloud-based retrieval.
Was this article helpful?